Thursday, May 31, 2012

A new place to call home....?

I finally did it! By "it" I mean finished the hutch I purchased forever ago off of Craigslist..... Remember from this post here....?


 It has been hiding in my dark, dirty garage for several months now but after I cleaned out my garage this past weekend I was inspired to finish it. It was collecting more dust and getting destroyed by other DIY projects. For example, when I was spraying the lamp I accidentally sprayed part of the hutch see..... Ooops
This really bummed me out because I wasn't sure that I wanted to paint it. I kinda liked the two toned wood color. But now I was stuck to paint the beast. I really didn't know what color I wanted to paint it. I knew I needed to mute down the bright colors in my house because I am out of control with color. That's when I found myself in Home Depot picking a navy blue color.

Here is the hutch all washed up ready for it's first coat.... The Before...
Here she is all sprayed out after one coat. ( I did three.) I kinnda freaked at first because the paint did not look navy at all until it dried.


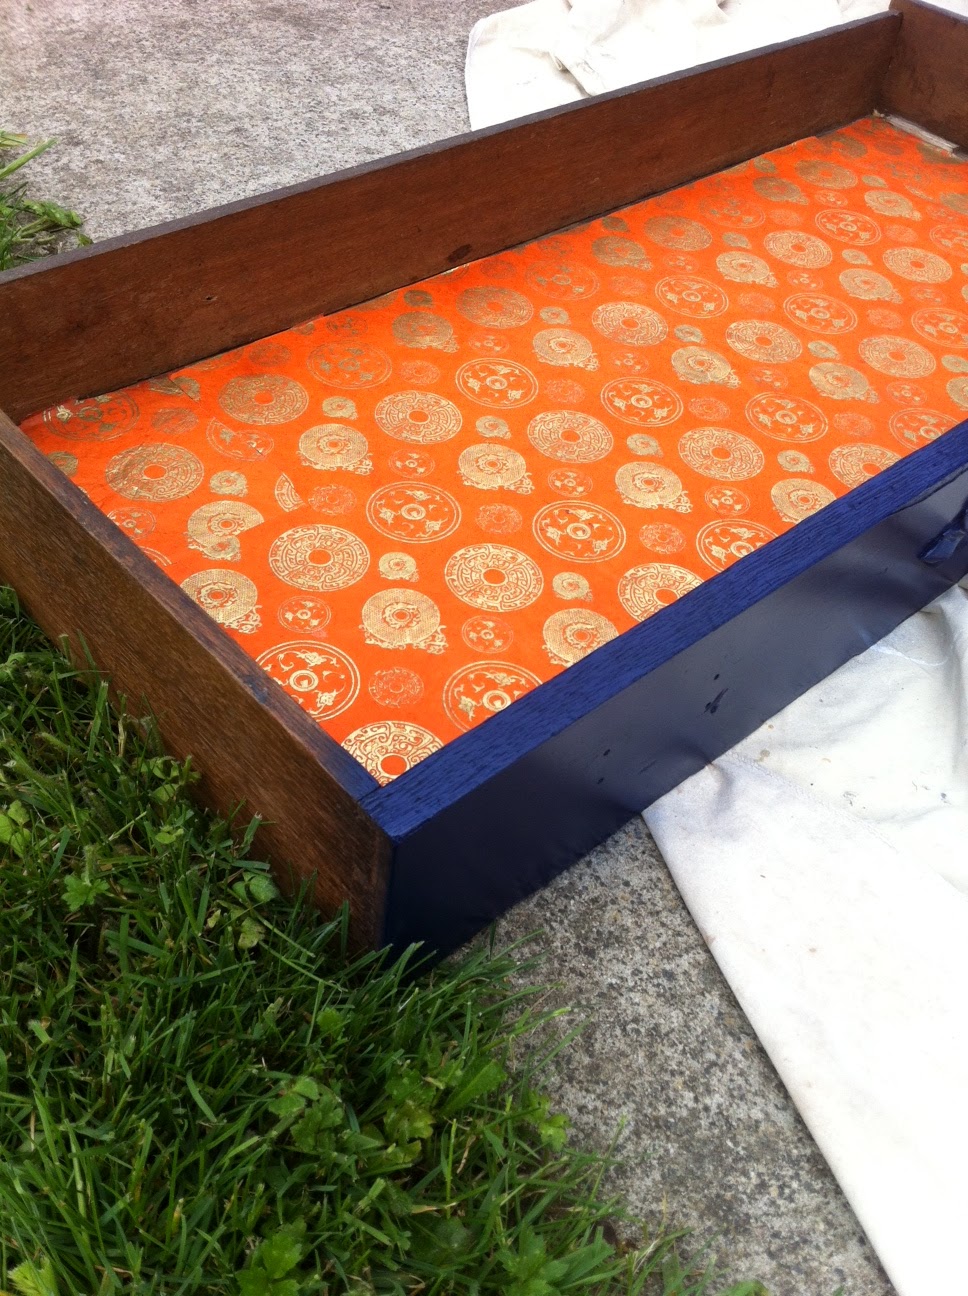
Now this peice is old and musty smelling. So I took out my wood cleaner washed it down. Then I took some decorative papers I had and lined the drawer and doors with them.

 I did this with spray adhesive. I love this stuff by the way...

Then it was time to purchase some new hardware for the hutch. So I headed down to my local vintage hardware store where I purchased four knobs; two for the drawer and two for the doors. (I still am not 100% sold on the light blue knobs. I might exchange them for yellow.)


So are you ready for the before and after!!??? Here we go....
Before
After
 Sorry the pictures are washed out. I had to take these on my phone since our camera battery is dead....
The Hutch works in our house. It is growing on me day by day...

 I am constantly changing whats on top of the hutch but for the sake of these pictures I have one of my long time favorite post cards called "Hey Hey Sugarcube." Oh and there is the wise old owl candle holder.
 On the other side of the hutch I have my DIY spray painted mason jars....
 Look how stunning the decorative paper looks lining the drawer. I am in love with it. Not to mention I love the color orange!!! LOVE LOVE IT!

Now I need to explain the title of this post to you. You see since the minute we brought this piece in the house, Lucy has discovered it as her new little home. She loves to open and close the doors, sit inside it and close herself in it. It scares the heart out of me that shes going to crush a finger or somthing... But she loves it like crazy. See....

 Open close.. Open close... All the other cupboards in our house have magnetic locks... This is freedom...
Here she is trying to save her best friend Weston from the dogs by helping him hide in the hutch... Best place ever....

 To say the least we love staring at our new fun furniture piece in the house.... Did I mention that there is a mirror over the hutch so we can stare at ourselves. We really like doing that too because we both think we are pretty funny making each other laugh a lot....


What do you think?


Wednesday, May 30, 2012

Deer be Gone

 I think Cole and I have given new meaning to the term "Weekend Warrior." This past weekend was Memorial Day weekend and I had a list a mile long that I wanted to finish around the house.
      • Clean the garage   'check' 
      • Wash the cars
      • Strip, Wash and Stain the Deck    'BIG check'
      • Finish hutch    'check'
      • Finish Map on wall   'almost check'
      • Add plants to raised bed    'check'
      • Plant deer proof plants in the new flower bed in front   'check'
I guess this list gives you some insight as to what has been happening around these parts. We rocked our house out and most of all we stained our deck! I had no idea how intensive this would be when we got into it!  I will share more details in a later post but boy.... what an accomplishment!!!

What I want to share with you today is our new flower bed in the front of the house. Remember how I told you a while ago that we have deer?.... Lot's of deer!!! Well I have been really gun shy to plant anything in this bed for fear of it being munched to death. So after several weeks of researching and talking to some of the local garden centers in town I have decided to plant an herbaceous garden in front. The master gardeners at the Sunday market told me that there is no such thing as a "deer proof" garden, however there are deer resistant plants. Then there was a guy at our local farm and garden store who told me that deer hate lavender and rosemary. YES! I thought to myself I love lavender and it smells so good! It was then that I decided to buy several lavender plants which I got at our local Sunday market 5 for $20. Nice price huh? Then I also bought some baby tears and a spreading succulent and several rosemary bushes. Then I weeded the bed a bit and went to town planting.... Here is a view of the yard before we dug out a bed. This will make mowing the yard a ton easier too!

Here is a side view after..... Those taller plants are the lavender. They should bloom in about a week or so.
There it is all dug out.
Lavender.... I can't wait for the calming aroma.... We need it...

 Here are the baby tear and succulent plants that should spread nicely as a ground cover...
Oh yeah... Here is a mole hole... What the ..... Cole and I are beside ourselves... We do not want moles. If you have any tricks as to how to get rid of them TELL US!!!!


Here is a picture too of our raised bed with more plants in it!!! We check it all the time. I can't wait for the day when we can harvest food out of it... Oh the sweet joy... PS please take note of the new fence around the bed... Our attempt at dog proofing, so far so good!

Ok so again here is a before picture.....

And after... I think it adds curb appeal... One baby step at a time...

I would of never considered myself to be a weekend warrior or ever thought that I would want to be. But the satisfaction we get when we sit back and say... Hey WE did that ... It feels SO good....

Tuesday, May 22, 2012

Love at First Light...

My inspiration for crafting has been low as of late. I feel as though I have a house that is never clean and there is always a meal to be cooked and a run to be ran. Today however, I had a surge of motivation and inspiration. I cleaned my house! I mean I deep cleaned and when I have a clean house I want to do pretty things to it. That is when I decided that today during nap time I was going to make a lamp that I have been eyeballing for a while. The lamp has been created and recreated many times over by many bloggers and DIYer's but I found my source of inspiration here at Mama Says Sew.


I headed down to my local thrift shop in hopes of finding a cheap lamp ... I was in luck. I got a little ahead of myself and started spray painting it before I took a before picture sorry. Also since I wanted to make it a thrifty project since funds are low I used good old yellow spray paint (that I already owned). I really need to set a design code for my house but I don't know how. Am I going for modern, or farmhouse cute...? I don't know.

materials....
1 old lamp
glue gun and about 10 sticks
white burlap... (I got it on sale for 2.48 a yard)
spray paint

Check out my killer steal of a deal ten dollar thrift store lamp. It's an average run of the mill brass lamp that everyone had.... Well get ready because it's about to become so lovely...

I took my ugly brass base to the garage and painted the baby up...


 Two coats later....
 This is the ugly grimy shade that still had the nasty plastic on it with an even nastier film of grossness covering it. I cut it off. (Side note... Cole is proofing this for me right now and I just got in  big trouble for spraypainting right on the cement. Make sure you spray on plastic because now I have to find a way to remove spray paint from my garage floor. Personally I think it makes the garage more beautiful.)
 The Before Lamp Shade....
 I covered it in the white burlap. Now other sites have you measure and iron and keep tidy. I however as you have already figured out love instant gratification and I have very little patience so I eye balled it all and it turned out OK.
 Then I cut strips longer than the shade so I could squiggle them down the shade and stuck them on with a thin line of hot glue. God I love glue guns...
 There is a peek at all the strips on the floor before I folded them in half and glued them on.
 This is a "I'm half way done and sipping coffee break." Oh and did I tell you that I finished this whole thing during nap time....! I know, right!?
 The lamp shade after... Now get ready for the marriage of the base and shade it's gonna be great...!
Here she is... I am really in love. It amazes me how easy you can transform the blah to beautiful. I wish I had more of an eye for it. Then again if I could find the beauty in every piece of trash I came upon I would be broke.
 Kinda love the yellow too... And when I don't I can just re-spray it...
 She's glowing....

 OK so I don't love the picture behind her. So tomorrow I might take the picture down and perhaps create something more linear and less demanding of visual attention. She steals the show though I know.
OK.. Now go do this because it was too easy and too pretty not too. Unless you want to buy it then you can because it's an Anthro lamp. which costs around $80 bucks and that's just the shade...