Showing posts with label deer. Show all posts

Wednesday, April 11, 2012

Burlap It Is


Yesterday I discovered a new blog that I really like called Today's Fabulous Finds. This lady has a lot of really cool crafts and projects that I want to try. Since I was in the burlap mood yesterday while making my Deer Head Painting, I decided that I would re-create her Burlap Bubble Wreath. I mean Easter is over and my egg wreath is still hanging from my door.


So I pulled together all of my materials .... All of which I already had, so this was a cheap craft to make.
Burlap (Still leftover from the coffee bags I scored)1.5 yards
Foam tubing leftover from my last wreath making extravaganza
scissors
pins with big heads
and white duct tape

If you want to re-create this wreath I am going to try my best to give you a good tutorial but really lets not kid ourselves, you need to go here. Her pictures and directions are SO much better.
With that, the first step is to make the wreath the size you want to and tape it together. (Before I get too ahead of myself I should let you know that I went back and duct taped the whole thing because it kept the pins in the foam better and I am paranoid of little pins falling out on my floor.)
Then I measured and cut out 4X4 squares. A lot of them. She recommends about 1.5 yards of burlap.

Next I took the squares to and matched up the corners. This is where I think I  made my own folding style to make the bubble. I would look at her post cause she gives specifics on folding.
Notice above I have all four corners touching now. Then I took a needle and punctured the burlap and attached it to the foam.

I thought it was pretty cool when some beans fell out of the bag. I was also a little scared that some over sized tropical scary spider could of also made its way into my burlap bag.

I am pointing to show you how I covered the whole thing in duct tape. I was only half way through taping here though. You can also see that I am half way done and you can see I was on craft overload with all the messes in the background. I swear my kitchen is clean tonight. And yes that is a beer. I needed it because Lucy has discovered her "fun" scream. It is an ear piercing scream that she thinks is funny. I am hoping its a quick phase. My friend assures me it's not.
Here is a close up so you can see the pins holding the burlap in place.
There you have it folks..... A beautiful new burlap wreath...Lets go hang it...
LOVE

Tuesday, April 10, 2012

Nap Time Freedom

I try to make most of my crafts during nap time. This is really the only time that I can have all to myself. Both of the babies sleep and I art out. Today I found myself looking to make something with materials we already had. This is a tight month for Cole financially so we are trying to be super frugal... Damn taxes! Anyways I found myself in the garage holding this really cool frame I got at a local thrift shop for $4. Then I grabbed one of the coffee burlap sacks and my white paint. It was in the depths of my garage when I had my ah ha moment and decided that I would make an art piece. I wanted to make something modern and not super frilly. At first I decided that I was going to make a monogram for our house. I went to Pinterest for some ideas when I saw this.....
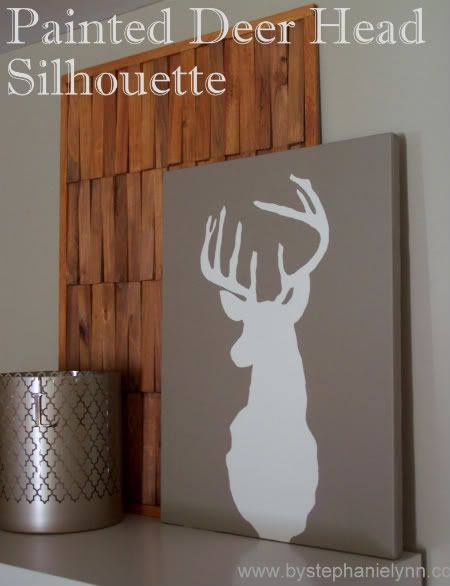
This chick does pretty cool stuff. I definitely got some other project ideas from her too. You can check her out here. I then decided that I was going to draw and paint a deer (remember the nostalgia post from earlier about horns and deer and stuff) with our monogram down below.

I got all my supplies together... All of which I had, score!
My coffee burlap coffee sack- $0.99, frame $4.00 open white gallon of paint. Not pictured black paint, sharpie, staple gun and paint brush. I got a little ahead of myself.
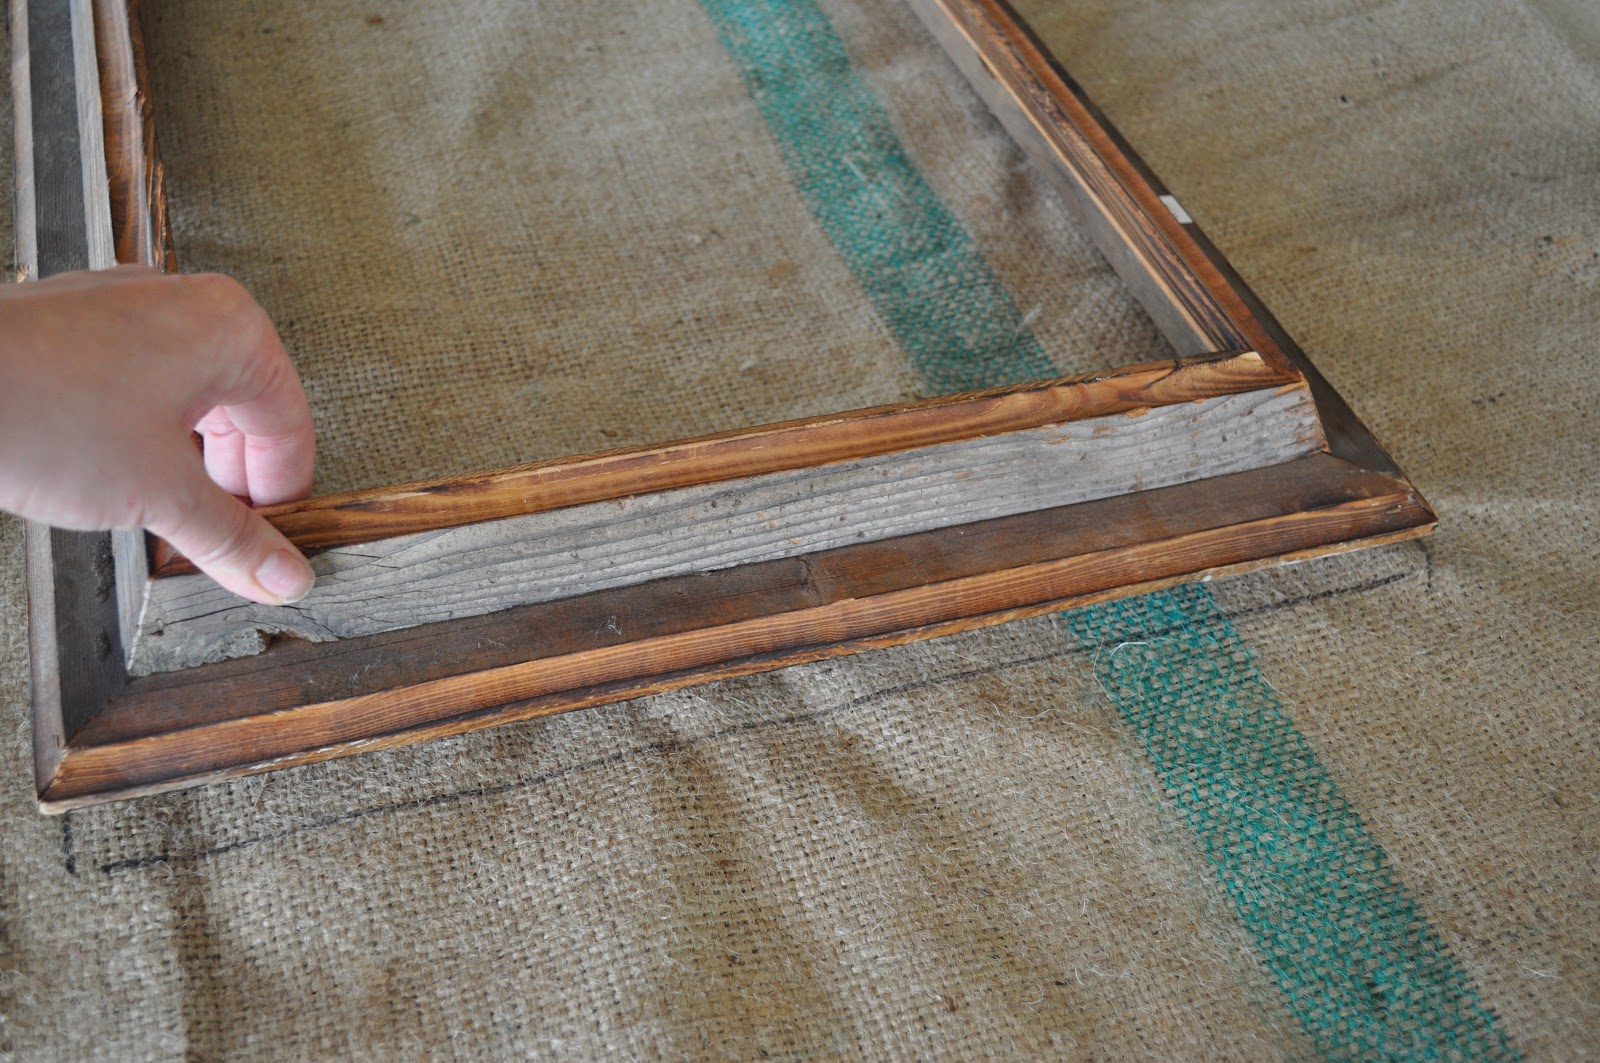
 Then I traced my frame with a sharpie and cut out my burlap a little inside the sharpie line.
 I used my paint holder container as my template for the deer bust picture.
 Tried my best at free handing a deer. Not too bad Huh?
 I decided to add a little monogram in the corner... So sweet... Home sweet home.
Then I took my old black paint (probably from college) which was really dry so I added some thinner to make it spread better,
 I painted in all the negative space around the deer... Lovely
 Now lets take a second to give a little shout out to my Daddy. He loves that I am working with tools and just knew that I desperately needed a staple gun among other things so he got me one. I love him... Thanks Dad you are the best.
Then I took my new toy and my freshly dried painted canvas and stapled it to my freshly white painted frame. I was sure to pull in nice and tight.

And.... Wait for it.... Instant art all ready to go and the it only took as long as nap time lasted about 1.5 hours.
 It took me a bit to decide where I wanted to put it but in the end I decided to put it by the door. We had an empty space and I was able to fill it with a meaningful picture that hits home for both Cole and I. (Looking at these pictures makes me realize I need to fill in my oval better its not perfectly rounded. Touch ups for tomorrow.)
Here is a too scale shot. See it's a nice size piece.
 If I can do this so can you. It was easy super cheap and super doable for anyone. If you need more of a pep talk to get going let me know and I would love to pump you up. I guess this post isn't for everyone cause maybe some people hate deer or monograms, who knows. Tell me what you think, or if you have betters ideas for things to paint on burlap I really want to know.