Showing posts with label decorate. Show all posts

Monday, November 26, 2012

Thrifty Quick Fix

I am feeling really blessed this holiday season. I know that it has only just begun but I am feeling like I hit the jackpot when it comes to all the family, friends and things I am thankful for. I could go on and on about how grateful I am for my life (because I really really am) but lets get to the dirty details of this post....  I am thankful for Target. They have some of the greatest stuff ever.... The other day when I was mindlessly wandering the isles (one of my favorite pastimes) I came across these two napkins for 3.99.
 
Yes, I know the whole deer head thing is overdone but I liked them and had good intentions for them for the Thanksgiving feast I was throwing. I would use them to cover two chairs I purchased at a garage sale this past summer for five bucks a pop. So I traced over all the gold with my favorite black Sharpie. Then I took the nasty old seat cushions off the chairs which had apparently been recovered several times before. I stripped off the old layers of fabric because for all I knew a cat had peed on them or something.


Then I took my staple gun and covered the foam with an old, clean, white tea towel I had in my kitchen drawer.
Next I took my colored on napkins and I stapled them over the dish towel and placed the seats back in the old chairs.

This was the perfect quick fix for I what I needed. I hosted thanksgiving and needed more chairs. However, I didn't want my guests subjected to the gross old fabric and I wanted chairs that matched my decor. I need to sand and paint the chairs down to a color I like but that is for another day.
Also, whenever I get tired of these covers I can just buy some new fabric or possibly cheap dinner napkins from Target.

Total side note.... One of my dearest friends (whom shall remain anonymous) told me that her husband thought they looked like snails coming up to attack you in the.... you know whats. Now that's all I can think of.

PS.... Happy holidays from my family to yours and yes I had to share this next picture to brag about my bad ass bird.... I got lucky... It was awesome...


Thursday, April 19, 2012

Have Glue Gun... Will Craft


Today was one of those days where I had a mile long to do list in my head. Yet, I never wrote my to do list down and I kept forgetting what I needed to do. So instead I just started lots of projects all at once. I got really overwhelmed as I sat in a filthy house at a disastrous kitchen/craft table. After a small pep/organization conversation with myself I decided to call my Mom-in-law. I knew I needed to clean my house (cause I really haven't done one of those deep cleans in a long long time) and asked for her to watch Lucy after work so Cole and I could do an intense deep clean. After the call, (babies had just gone down for their nap) I allowed myself one project at a time. Lucy's birthday party is Saturday so I have lots to do until then. We are trying to do the party on the cheap and I am trying my best to make all the decorations instead of buying them. I also know that as the Mom hostess it is my duty to provide a little take away for all of the other kids at the party. I had a bunch of felt out with leftover burlap. I had no idea what to make so I turned to the trusted Pinterest. After searching for a while I found this little pin here....
Pinned Image
 You can purchase this little bad boy from the Etsy store here. ( $3.50 not bad huh?) Since I didn't want to invest that much money in the favors I decided to try and make them myself.... Take a look...

I started by making a template... Cut out two pieces
Then I wrapped yarn around four fingers so I could get a lot of pieces the same length for the mane..
Next I laid out the yarn, crafted an ear and went nuts with the glue gun.
 I glued the two pieces together....
 Then I crafted a bridal out of some leftover burlap.
 Glued on a felt eye and there you have it a pony for all the kids to take home. Now I need to find some candy sticks to shove in them. I mean gently place in them. Yee Haw Ride Em Cowgirl!
I should mention that I made 11 of them. I got myself a herd...
Ok the babes literally woke up as I glued on the last eye and it was amazing! I knew I still had crafting to do but it would have to be an easy one that I could keep coming back to. So I decided to make some poms for her party. I used to make the tissue paper flowers with my students so I knew I could make a pom. I did and they look amazing. You have to recreate these for your next party. My inspiration picture....

You can follow their super easy tutorial here or you can test your luck with mine...First you need to start with 8 sheets of tissue paper. My first go around I used the whole sheet which made one large red pom then I cut my yellow/orangie paper in half to make two smaller ones..
Start by accordion folding the paper all the way down til the end of the paper..
 Once totally folded I tied a piece of yarn around the center so I have string to hang it from the ceiling.
 Then I cut off the ends cause I like the rounded ends.
 One by one, separate all the sheets... You will start to see magic unfold before your eyes. Behold the POM!!!!
This is my massive red one...
All three together... I can't wait to show them to you when they are all hung up hanging around in all their birthday glory... Oh yeah and they will be reused after Lucy's party. My  other little baby that I watch (Mr. Weston) is also turning one and his Momma wants them for his party... Yeah recycling... Anyways you need to make these they are super easy and adorable.. Do It... Then I cleaned and it was boring so I didn't take photos of that. But our upstairs is sooooo clean. Cleaner then ever before.


Monday, April 9, 2012

Outside Looking In...

Several of you have asked that I write a post highlighting what my house looks like on the exterior. I have described it several times as the big green monster and I think that left a lot to the imagination. This past weekend the weather was amazing for good old Astoria. Cole and I decided to get our booty's outside to mow and plant some of the hundreds of bulbs I purchased. So sunshine and all here is a look at our house currently...
 When Cole and I first visited the house I did not like it. The price was very right but I had no vision for the big green thing. Since we have moved in the place, it has started to really grow on me. I think with some curb appeal upgrades this baby wont look too bad. Below is a house that has given some vision  for our place. I realize that our house looks nothing like the one below but I want to replicate the shingles in the gables and the stone around the bottom of the house. I also really like the color.


Street Number Door Decal
As for the entrance way we have talked with several contractors (I guess we kinda lucked out cause Cole's dad and my Mark are both contractors) who  have given us the idea to extend a patio about seven feet the length of the front left of the house and zig zag wider framed in shingled stairs. The ones that are up now are pretty much a death trap. Death traps are not a good thing to have when you have kids or so we have been told. I also want to add some exterior moulding to the windows to make them look more manly, they need a little beefing up. (PS I hate the telephone pole in my front yard but I guess it is frowned upon to axe those down.) I also love the look of this door with the address painted on the front. The color is awesome and I want to replicate everything about it. If you love this door and want to feast your eyes on more click here.

 Here is a good picture to show you what we're working with yardwise. Yes those are blackberry bushes. The neighbor told us that the yard was let go for a while especially when it was on the market. There is a lot to be done. Cole and I are still trying to come to a common vision for the yard, then we will probably spend several years attaining the vision.   So Cole and I took some baby steps on Saturday and we removed our first hideous plant that probably was a weed gone crazy. The plant about to meet its fate is the one one the right... Bye bye ugly
 Here I go digging away trying to put the plant out of its misery. I had a vision to dig it out and all the grass all the way to the street to make a lovely flower bed. Cole told me I was being too ambitious and that we didn't have that much time . He also doesn't want the neighbors to think we are the type that start projects and never finish them. Not to mention it would effect all of their mail boxes.

 Cole took the last couple swipes at the bush ad viola it was gone.
Since I didn't get the flower bed I had set out to get that day I pouted and and made a strong argument that all my bulbs would have been bought in vain if we didn't get some into the ground. So we stripped out a little section and I got to plant one bag on a very sun exposed side of the house.
 The bag I got to plant. Whoop Whoop... Can't wait to watch them grow and then pick them.
After a big day of Easter egg hunting (Ummm how come no one ever clued me into the psychoticness of parents and Easter egg hunts in public. If I knew what I was getting myself into I would of prepped for the crazy parents in the 0-2 year old section with trash bags in one hand full of eggs and immobile infants in the other. Lucy got two eggs this year cause we played nice, next year watch out Seaside we're gonna be prepared.) and planting we underwent a series of first in Lucy's life..... Enjoy a quick recap of her adventures...
Lucy's First Easter Egg Hunt.... Her two awesome eggs...
Swings.... She loved them... We have the all-time greatest park by the house. Can't wait to use and abuse this place.

 Slide with Daddy...
 Also her second Easter but it was the first time I got to dress her up like a contestant from Toddlers and Tiaras. Her dress definitely pushed the boundaries on too fluffy. I loved it. Hope you all have a great holiday weekend. Any firsts for any of you? Or maybe you have some good ideas on how we should add street appeal to our home. I would love to hear from you.

Wednesday, April 4, 2012

Family Room Before and In Progress...

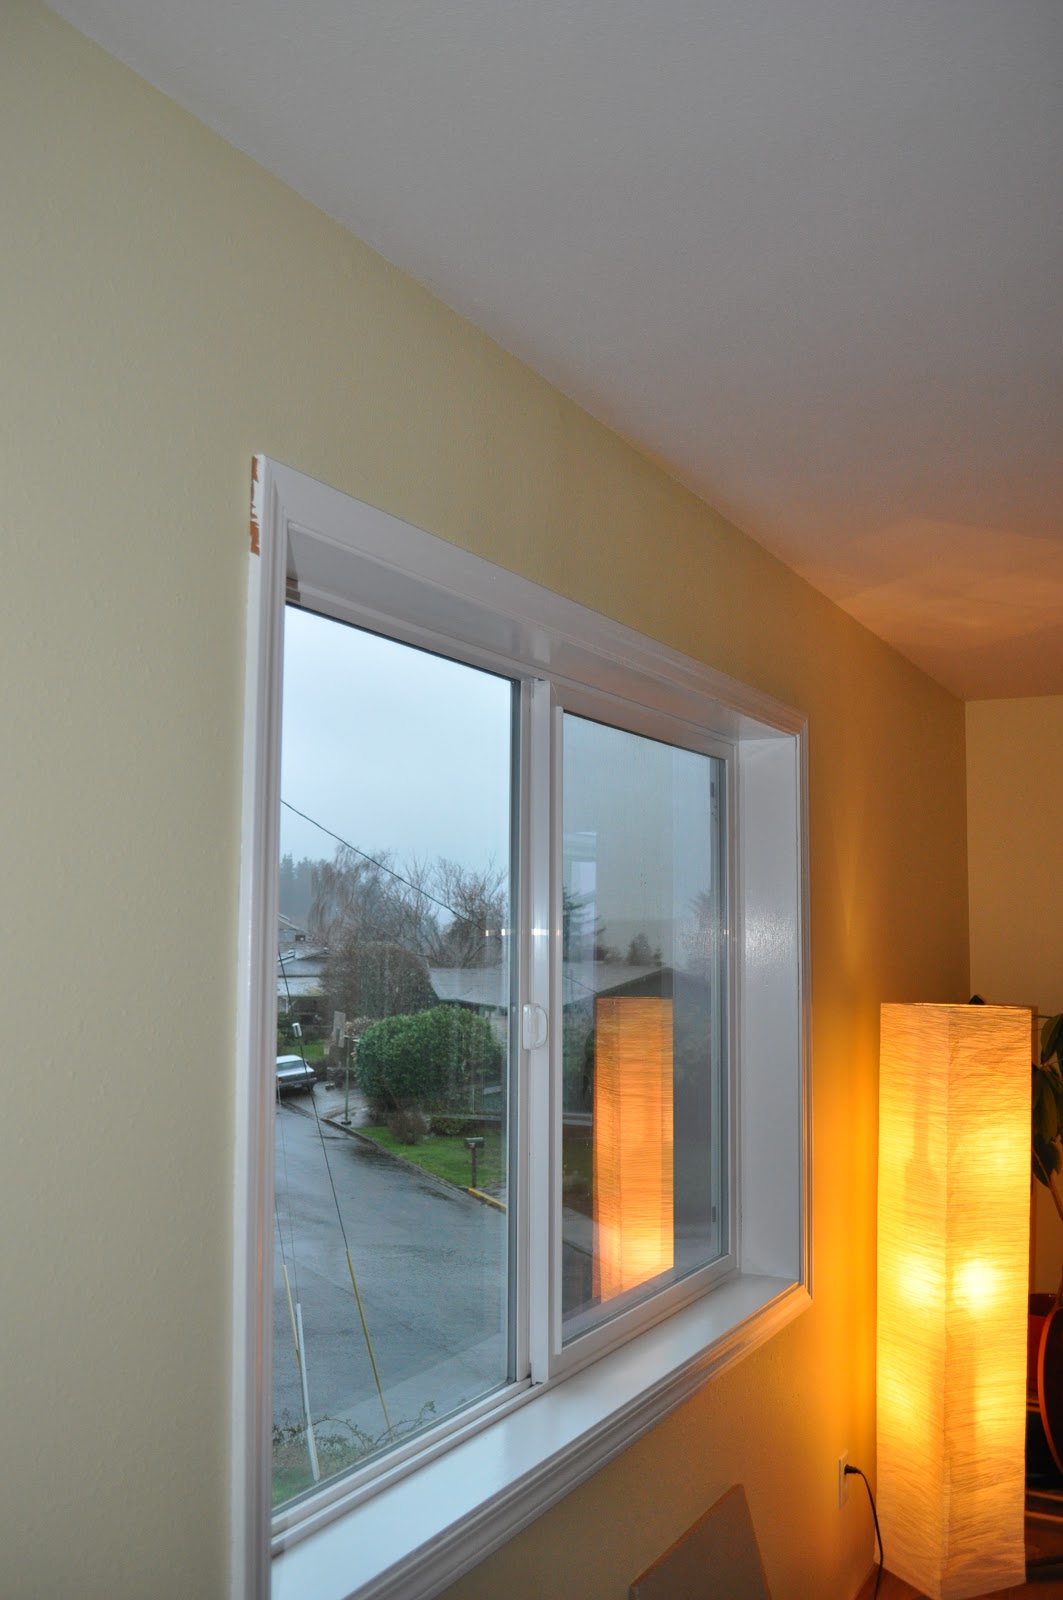
I thought that I would take a break from my sitting room for a bit and show you some before and afters of our Family Room. When you enter our house you enter into the Living room/sitting room which winds you around to our kitchen. Well there is a semi surprise of a room just past the kitchen. It was a nice surprise too when we first viewed the home. It's a very large family room with nice gas fireplace and a half bath built on. It also has lots of nice big windows that are still curtain-less by the way. Let's take a look....

 Above is a shot looking into the room from the kitchen/dining area. Notice the very green olive walls. It wasn't a bad color it was just a bad painting job. Since the house was a foreclosure I felt like the bank came in and slapped paint on certain walls to make the home more appealing. Just wait till I show you befores of the kitchen!
 Below is the view as if you were standing in front of the fireplace. You can see the door to the first floor/ basement and a glimpse of the dining room. The ceilings are not vaulted like they are in the entrance but the previous owner added a fan to this room. I like the idea of fans but this one is a mini fan that belongs in a kids room not in a big room like this.
 Here is a peek into the half bath. Oh yes and there is that lovely vinyl flooring. When we redo the kitchen floor it too will make and exit from this home. Sometimes I think the previous owner ran out of money when they built this house. There are some really nice features like a jetted tub then there are things like all brass fixtures and vinyl flooring. This house was built in 2006 which means that a lot of the fixtures were super outdated even then. (Side note... I just read a blog where they painted all the fixtures themselves to a darker brushed oil look. The fixtures turned out looking AMAZING! I really want to do it now, however I need a sunny day where I can spread all the fixtures out on our driveway. I live in Astoria so I might be waiting a long while. Boo..)
Ok so here we go... The Before....
And the After..... Nice huh...?

Look how much brighter the room looks with the yellow paint (this is the cheap recycled paint that I have talked about before) and the white trim.
Below you will find our fireplace and mantle. It is a corner mantle and I don't know what to do with it or how to decorate it. If you have any ideas I am all ears. I also, as you can see, got side tracked one day while painting the trim and painted the brown tile around the fireplace white. I love it... white...
Someday I want to knock that tile out and put in a cool shaped tile on all three sides of the fireplace. I also want to add more of a mantle. I've been looking at thrift store but damn mantles are spendy.


This is a view of our TV. We have found an awesome entertainment center at IKEA but it's like $900 so we are saving our beans. We really need something for the TV.  I think it's kinda an eye sore and Lucy loves to stand up and bang on the screen. Cole just LOVES when she does this... yikes
 My white moulding....
And then there is this...The bathroom door and moulding that I haven't finished yet. It gives me the stink eye every night while I watch TV because it hasn't been loved yet....
 Oh yes and I have to share this because it lets you know I am a real person who rarely has a clean house. This is the store all corner for Lucy's toys. I never thought I would be a person with baby stuff everywhere... I am totally one of those people. I need to find a better system to store her toys. Yes that is also a large pile of laundry. I cannot take credit for it because Cole does all of our laundry.. I love him to pieces. And Hurley's butt... Sorry for that.

Ok so lets end on a high note. Here again is a picture of my Family Room in progress. I like it. It is a comfy room that invites anyone in to rest, nap or play.